ChatbotKit Integration
Overview
ChatbotKit is a comprehensive platform for building, training, and deploying AI chatbots without coding. It offers an intuitive interface for designing conversational flows, integrating knowledge bases, and managing bot deployments.
Note: Custom LLM integration is available only in the Pro, Pro-Plus & Teams version of ChatbotKit.
Key Features
- Visual Bot Builder: Create conversation flows with a drag-and-drop interface
- Knowledge Base Integration: Train bots with your custom documents and data
- Multi-Channel Deployment: Deploy to websites, messaging apps, and custom platforms
- Analytics Dashboard: Track performance and user interactions
- Conversation Management: Monitor and intervene in live conversations
Use Cases
- Customer support automation for websites and products
- Internal knowledge base assistants for employees
- Lead generation and qualification chatbots
- Educational and training assistants
- FAQ and information retrieval systems
Setup Instructions
-
Sign Up for ChatbotKit:
- Visit ChatbotKit’s website
- Create an account (optional: select your subscription tier)
- Log in to your dashboard
- Select Create New Bot to start a new project
- Choose a template or start from scratch by choosing custom from the list of templates.
-
Configure Bot Settings:
-
After choosing the custom template, navigate to the bot configuration page
-
Enter a name and description for your bot
-
Configure any other required settings, for this example we’ll go with a document dataset for the bot.
-
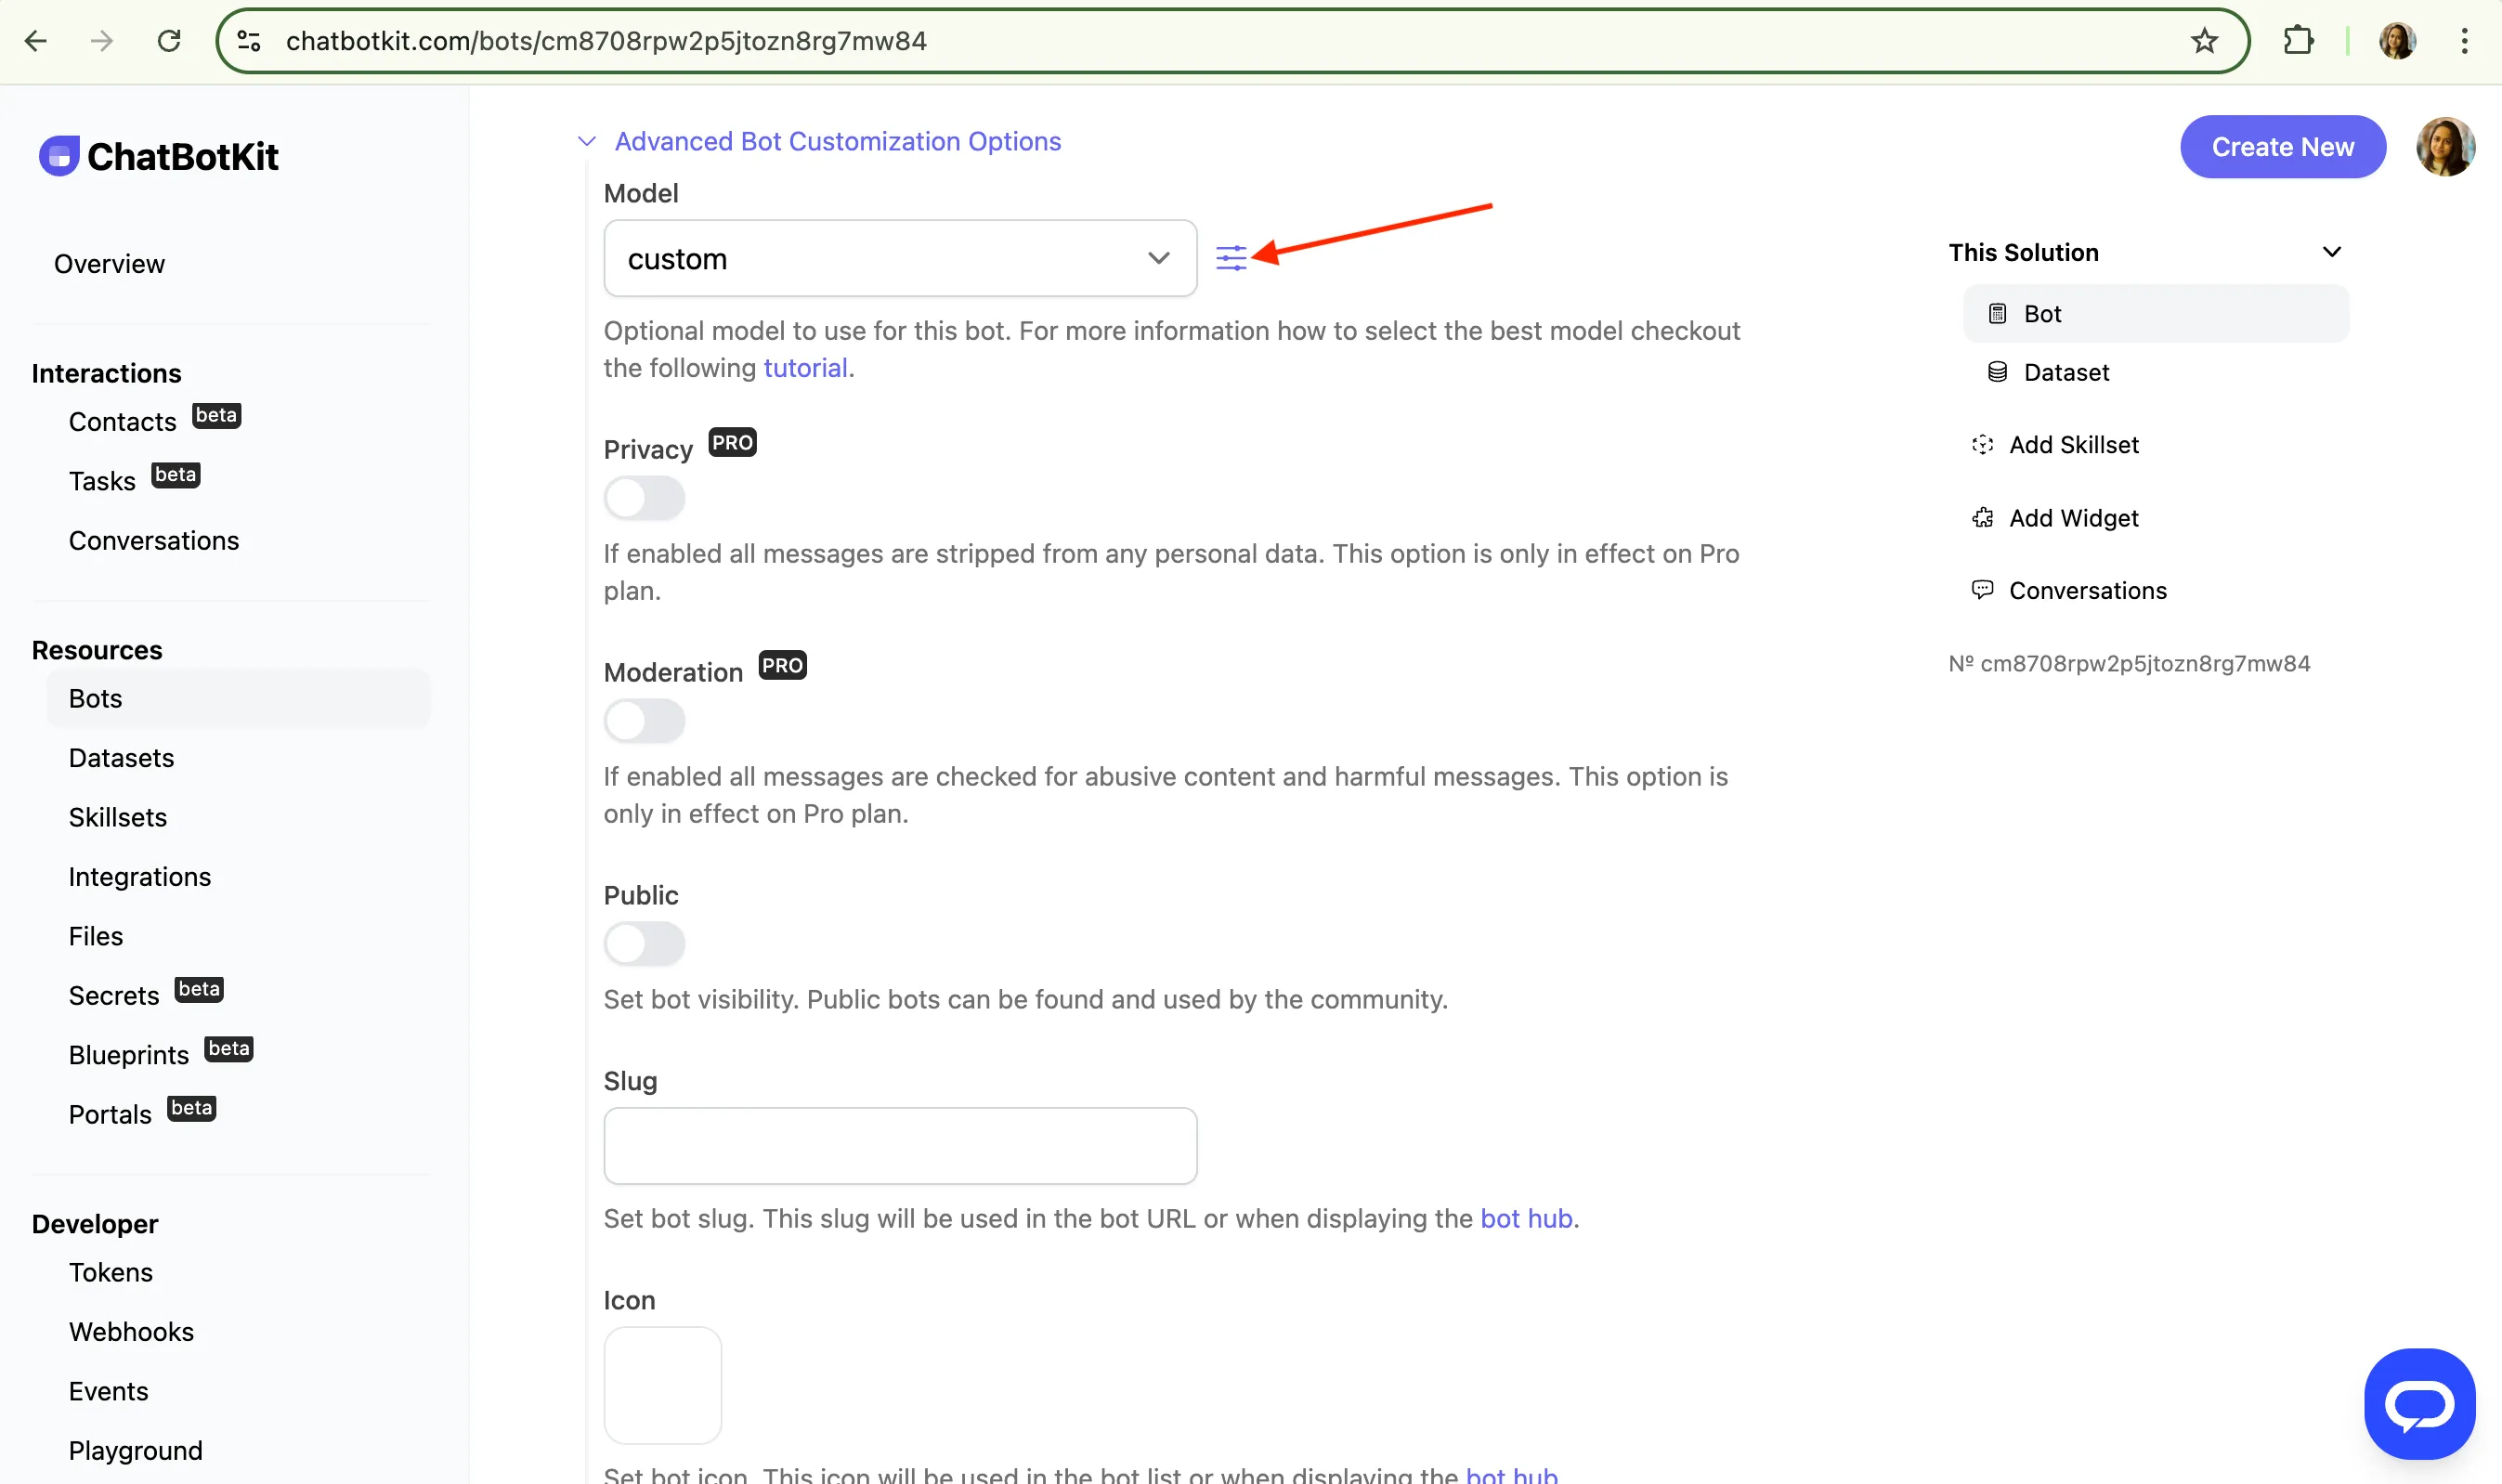
Click on “Advanced Bot Customization options” to access the API settings page.
-
Select “OpenAI Compatible API” from the options
-
Configure the following settings:
Model: CustomProvider: OpenAIAPI Key: your_api_keyAPI Endpoint: https://api.relax.ai/v1/ -
Set default parameters for temperature, top_p, etc.
-
Click “Save Provider” to store your configuration
For more information, checkout the models guide on ChatbotKit
-
-
Create a New Chatbot:
- Return to the Dashboard and click “Create Chatbot”
- Select a template or start from scratch
- Enter a name and description for your chatbot
-
Select AI Model:
- In the bot settings, navigate to “AI Configuration”
- Choose your custom provider from the dropdown
- Select your preferred model
- Adjust parameters as needed for your use case
-
Build Conversation Flow:
- Use the visual editor to create your conversation flow
- Add nodes for greetings, questions, answers, and actions
- Connect nodes to create the conversation path
-
Add Knowledge Base (optional):
- Navigate to the “Knowledge” tab
- Click “Add Knowledge Source”
- Upload documents or provide URLs for the bot to learn from
- Configure retrieval settings for accuracy
-
Test Your Chatbot:
- Click the “Test” button to open the testing interface
- Try different conversations to verify functionality
- Make adjustments to improve responses
-
Deploy Your Chatbot:
- Go to the “Deploy” tab
- Choose a deployment method (Widget, API, or Integration)
- Configure appearance and behavior settings
- Copy the provided code or follow integration instructions
Advanced Configuration
ChatbotKit offers several advanced features for complex chatbot scenarios:
-
Contextual Understanding:
- Configure entity extraction for identifying key information
- Set up context variables to maintain conversation state
- Define conversation memory settings for long-term interactions
-
Handoff Logic:
- Create conditions for transferring to human agents
- Set up email notifications for specific triggers
- Configure working hours and availability rules
-
Integrations:
- Connect to CRM systems like Salesforce or HubSpot
- Integrate with help desk software like Zendesk or Intercom
- Set up webhook connections to your backend systems