FlowiseAI Integration
Overview
FlowiseAI is a powerful low-code platform for building custom AI workflows and agents with an intuitive visual interface. It enables you to create sophisticated AI applications without extensive programming knowledge.
Key Features
- Visual Node-Based Editor: Drag-and-drop interface for creating AI workflows
- Pre-built Components: Extensive library of ready-to-use AI components
- Multi-Modal Support: Text, image, and audio processing capabilities
- Custom Function Support: Extend functionality with JavaScript functions
Use Cases
- Building conversational AI agents for customer service
- Creating data processing and analysis pipelines
- Developing content generation and summarization tools
- Integrating multiple AI services into cohesive workflows
Setup Instructions
1. Install FlowiseAI
Visit the FlowiseAI GitHub repo for installation options, either via Docker or NPM:
docker pull flowiseai/flowisedocker run -d --name flowise -p 3000:3000 flowiseai/flowisenpm install -g flowisenpx flowise start2. Access FlowiseAI Dashboard
Open your browser and go to http://localhost:3000. You’ll see the FlowiseAI dashboard with the canvas area.
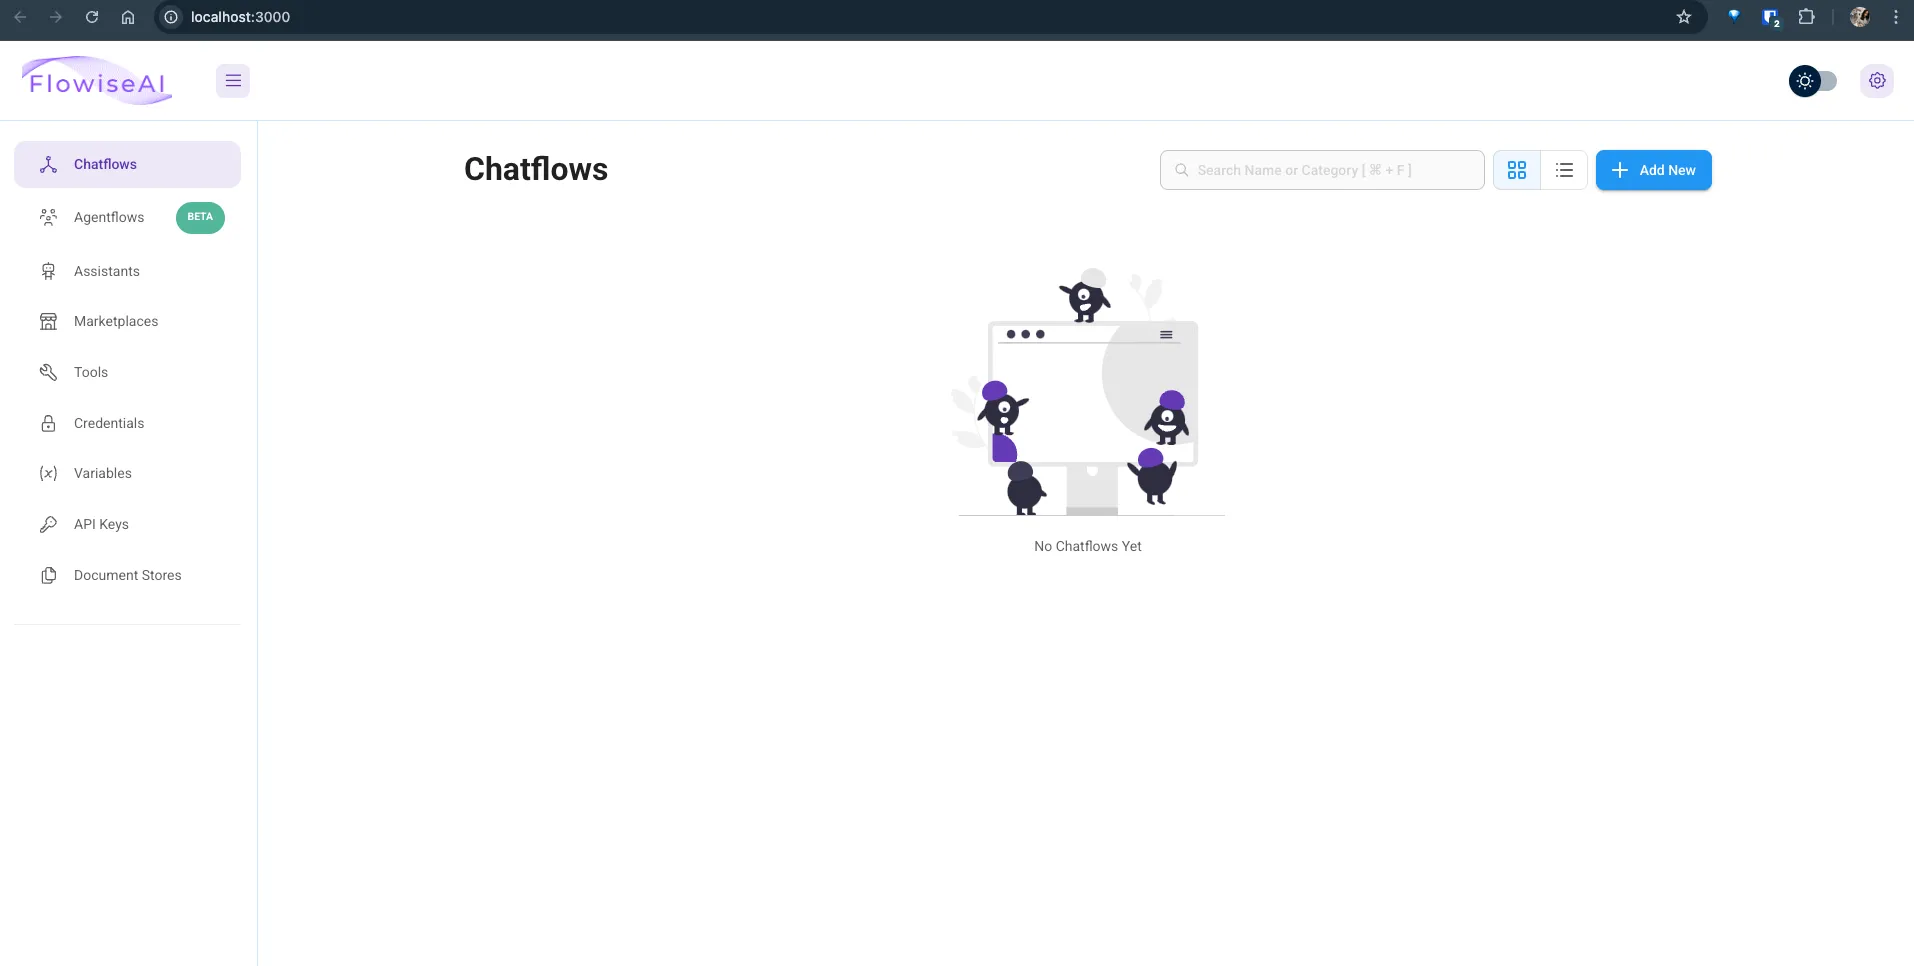
3. Create a New Flow
Click on the + Add New button to create a new flow. Give your flow a name like relaxAI Integration.
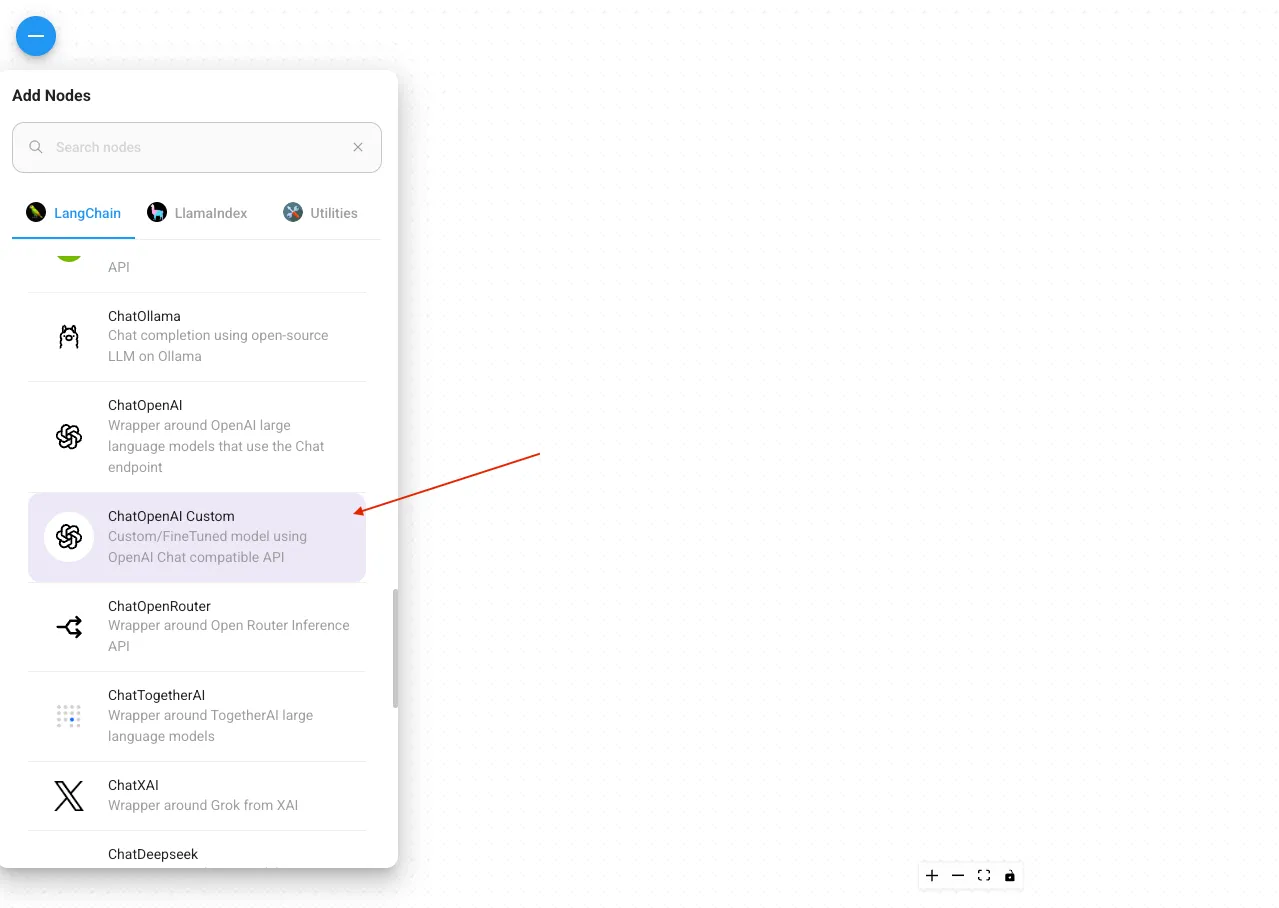
4. Navigate to LangChain Components
In the components panel on the left, navigate to the LangChain section. Find the ChatModels category.
5. Add ChatModel Node
Drag the ChatOpenAI Custom ChatModel node to your canvas. This will be your connection point to relaxAI.
6. Select OpenAI Compatible Option
In the node configuration panel on the right, select Custom OpenAI API Compatible from the Model Name dropdown.
7. Configure relaxAI Settings
Enter the following details in the configuration panel:
Base URL: https://api.relax.ai/v1/API Key: RELAX_API_KEYModel Name: <model name> # for example: Llama-4-Maverick-17B-128E
8. Set Additional Parameters
- Configure optional parameters like Temperature, Top P, and Max Tokens
- Recommended starting values:
- Temperature:
0.7 - Top P:
0.95
- Temperature:
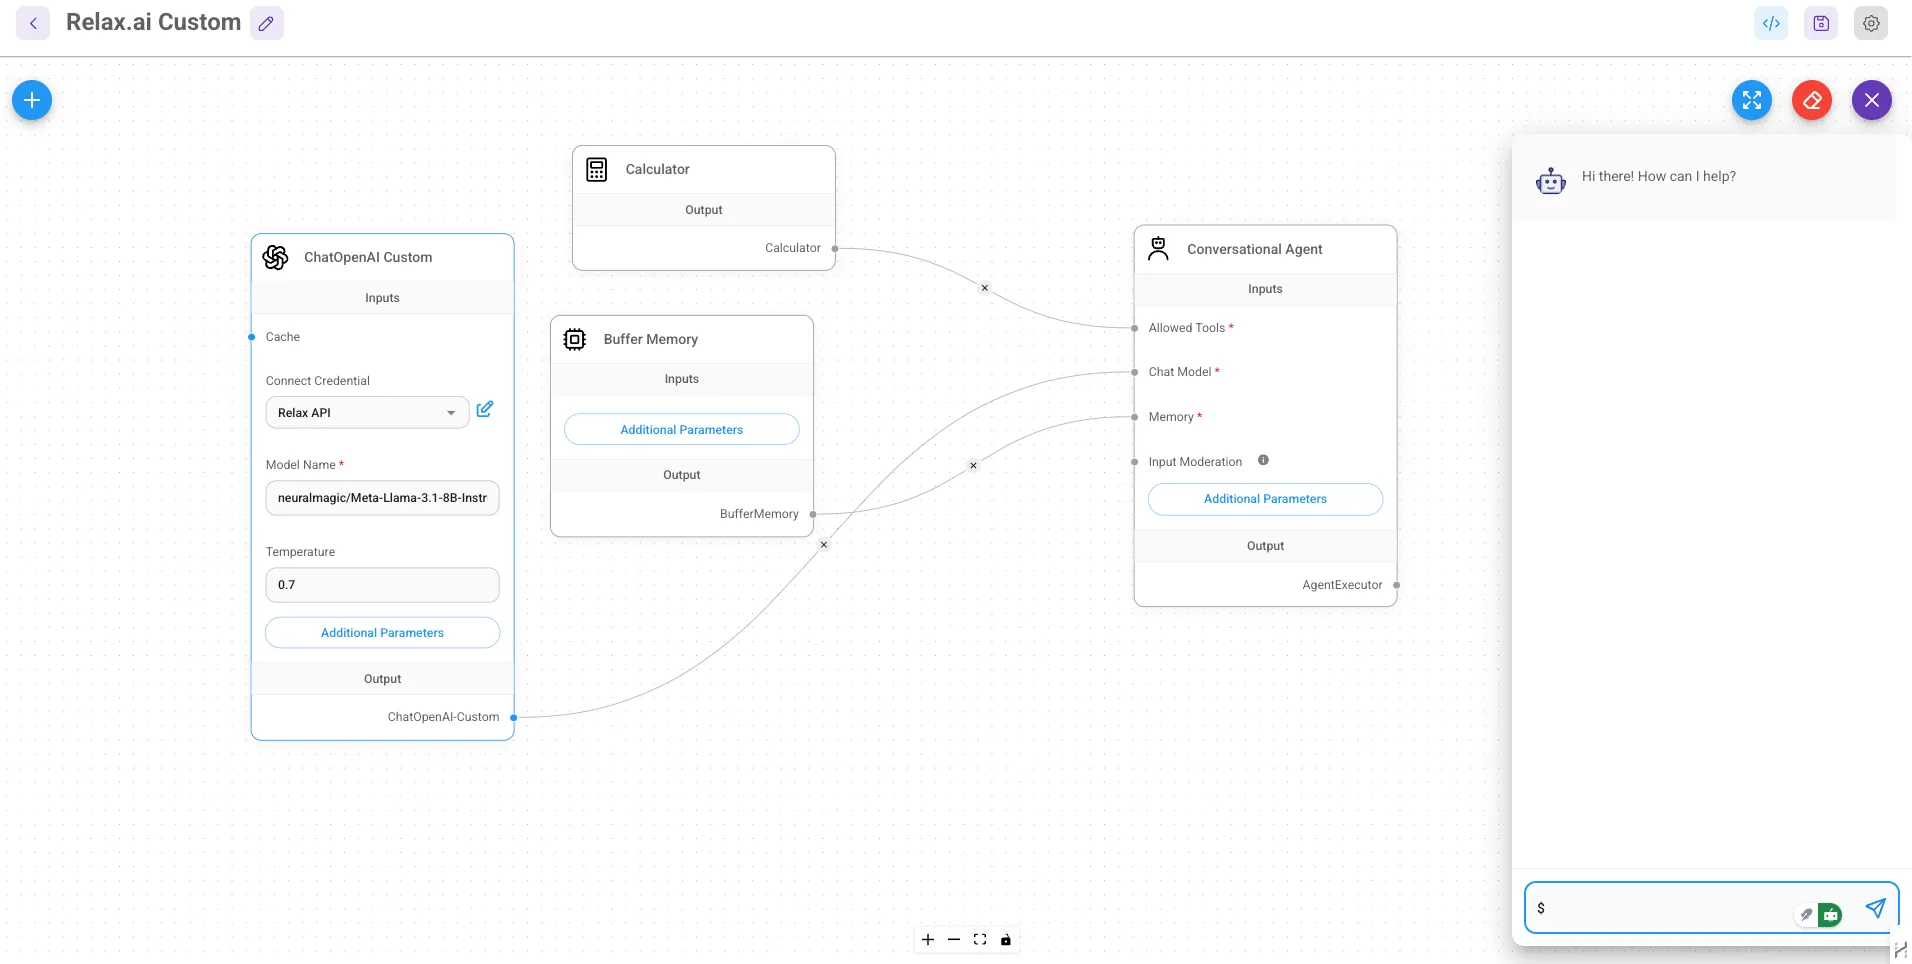
9. Complete Your Flow
-
Add additional components like ChatPrompt, TextInput, and TextOutput
-
Connect the components to create a complete flow:
TextInput → ChatPromptChatPrompt → ChatModel (relaxAI)ChatModel → TextOutput
10. Save Your Flow
- Click the “Save” button in the top-right corner
- Your relaxAI integration is now ready to use
11. Test Your Setup
- Click the “Prediction” tab at the top
- Enter a test message and check if your relaxAI model responds correctly
Code Example
import { ChatOpenAI } from "@langchain/openai";
const llm = new ChatOpenAI({  modelName: "Llama-4-Maverick-17B-128E",  openAIApiKey: "RELAX_API_KEY",  configuration: {    baseURL: "https://api.relax.ai/v1/"  }});
Resources
- FlowiseAI Documentation
- FlowiseAI GitHub Repository
- LangChain Integration Guide
- FlowiseAI API Reference